This tutorial provides step-by-step instructions about how to install CentOS 8 with a GNOME desktop.
As announced on the CentOS official website, CentOS has been released on the 24th of September 2019 and it comes with a handful of great features such as :
- Cockpit, a web-based system administration tool is now available by default on CentOS 8;
- The GNOME desktop (v3.28) environment is available by default when installing CentOS 8;
- As a consequence, Wayland is used as the default display server instead of X.
- YUM is now linked to DNF from the Fedora project and it makes it easier to check entire packages integrity before executing them
- Software have been updated : Apache (v2.4.37), Nginx (v1.14.1), PHP (v7.2.11) and Python (3.6.8) are now available by default on CentOS 8
- CentOS 8 is now tighly linked to containers with Podman. It is now easy to build containers using Buildah or Docker files.
- On networking, nftables replaces iptables and it also becomes the default backend for the firewalld daemon.
Now that you have a complete idea of what’s available in CentOS 8, let’s see the different steps to install and configure it properly.
Here are the steps to install and configure CentOS 8
Create a Bootable CentOS 8 stick on Linux
In order to install CentOS 8, unless you are working with a virtualization environment, you are going to need a bootable USB stick.
By default, if you choose the CentOS 8 DVD version, the ISO file is about 6.6GB in size.
As a consequence, you are going to need a USB stick that is larger than 7GB. If you don’t have a USB drive that large, you can opt for a lighter version of CentOS 8.
In order to create a bootable USB stick, I am going to use a Debian 10 instance, but the steps are valid for every Linux distribution available.
If you plan on installing it from Windows, you will need Rufus to create the bootable stick.
Plug the USB stick in the USB port
Insert your USB drive, and your host should directly mount the drive on your file system.

You can also check that your device was correctly mounted by running the following command
$ df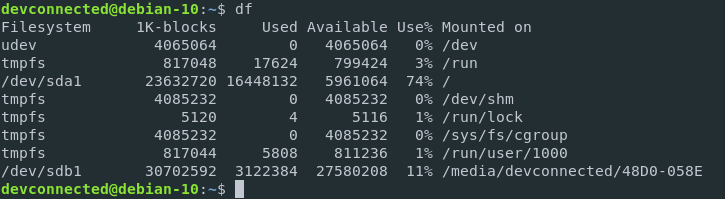
As you can see, my media drive is currently mounted on the /media/devconnected mountpoint.
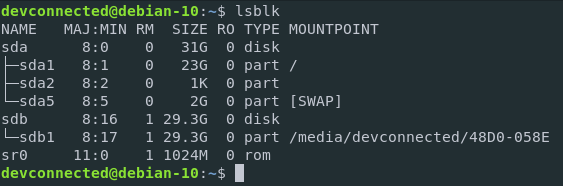
Alternatively, you can use the lsblk command to identify the mountpoint
Download CentOS 8 ISO file
Now that your USB is ready, we are going to download the CentOS 8 ISO file.
CentOS exposes a list of mirrors that one can choose from in order to download and install CentOS 8.
The mirror list is available here.
CentOS 8 website will suggest some of the fastest mirrors depending on the location, you can choose one of the following links.
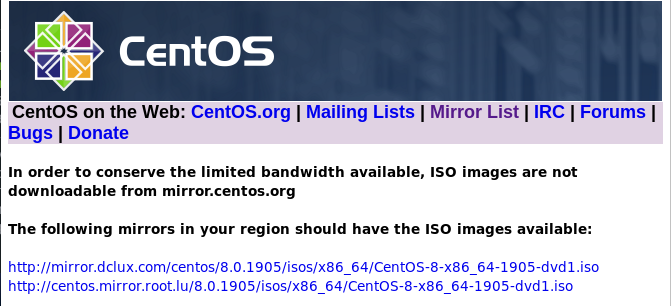
Note that the mirror list displays ISO dedicated to x86 architectures. If you are using another architecture, make sure to choose the correct one by browsing one of the mirrors available.
In this case, I am going to use a standard American mirror located at Facebook.
In order to download the ISO, run a simple wget command (in the folder of your choice)
$ wget http://mirror.facebook.net/centos/8.0.1905/isos/x86_64/CentOS-8-x86_64-1905-dvd1.isoCopy the image to your USB drive
Now that the ISO is downloaded, it is time to copy it to your USB drive.
$ sudo dd bs=4M if=/home/devconnected/CentOS-8-x86_64-1905-dvd1.iso of=/dev/sdb && syncBoot on the USB drive
Now that your USB stick is ready, you are ready to boot on it.
Depending on the BIOS you are using, you may need to press one of the following keys to escape the normal boot : ESC, F1, F2 or F8.
Install CentOS8 from your USB drive
Now that you booted directly from your USB drive, you should see the following screen.
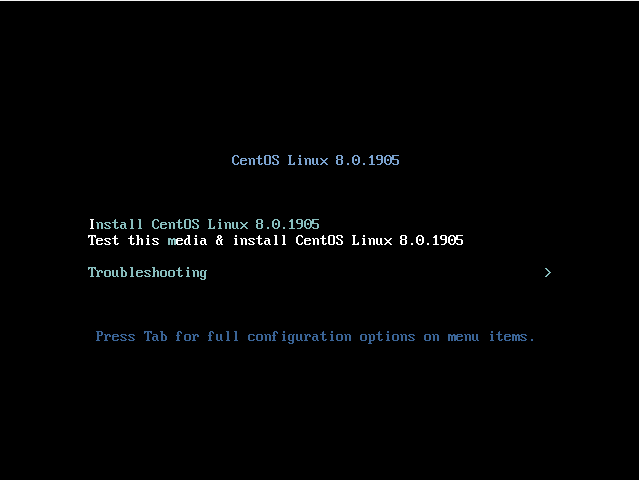
By default, the installation is set to autoboot in 60 seconds.
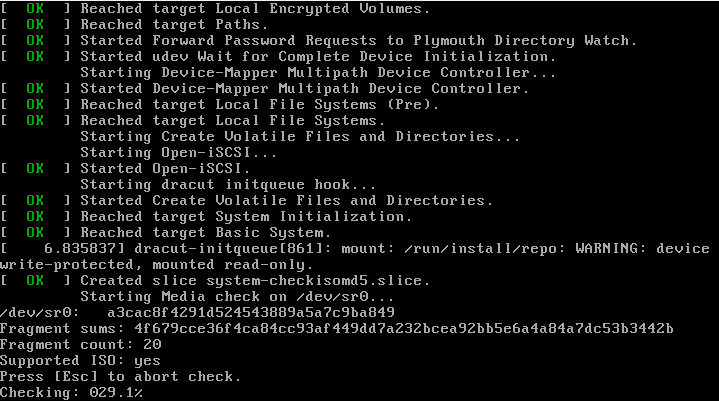
Select the “Test this media & install CentOS Linux 8.0.1905” option and press Enter.
CentOS 8 will perform a series of checks in order to see if the current device can be used for the installation.
When the check is complete, you will be presented with the following screen. Wait until the installer is launched.
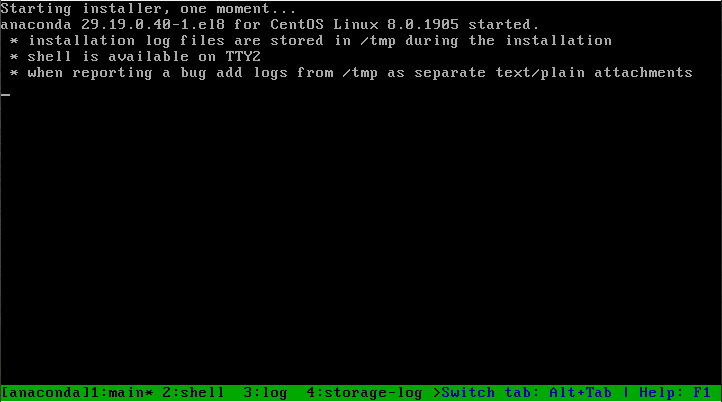
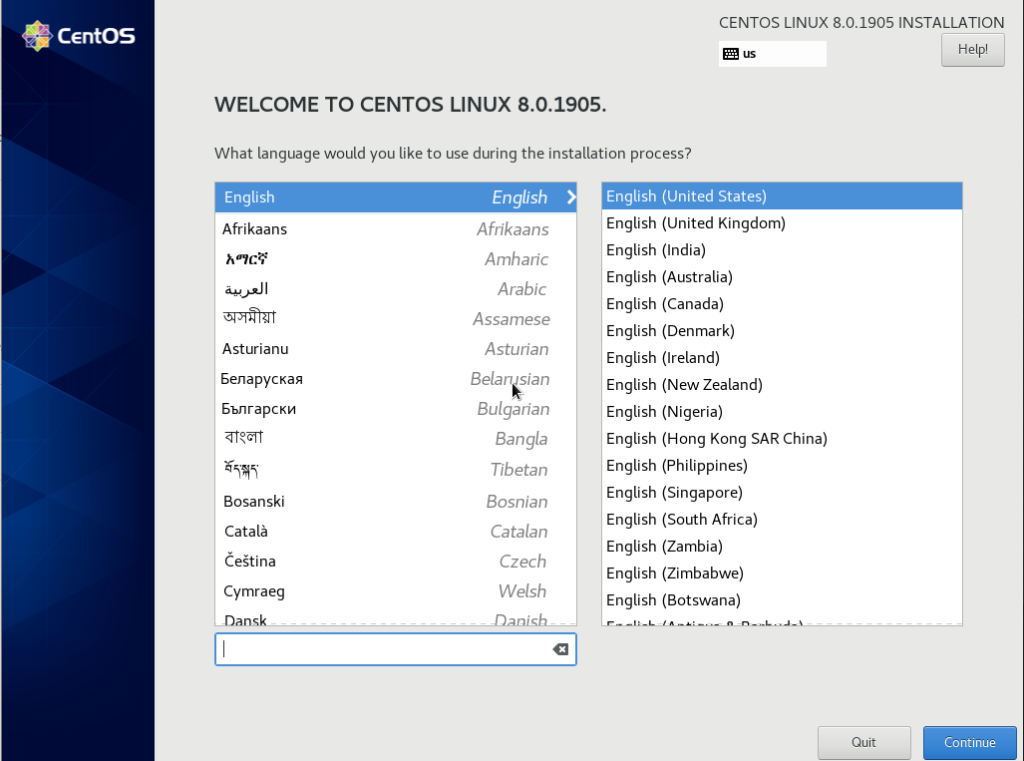
When the installer is launched, you should see the following screen, which is the default installation screen for CentOS 8.
On this screen, you are asked to choose a language for the installation process.
I’ll choose “English > English (United States)”
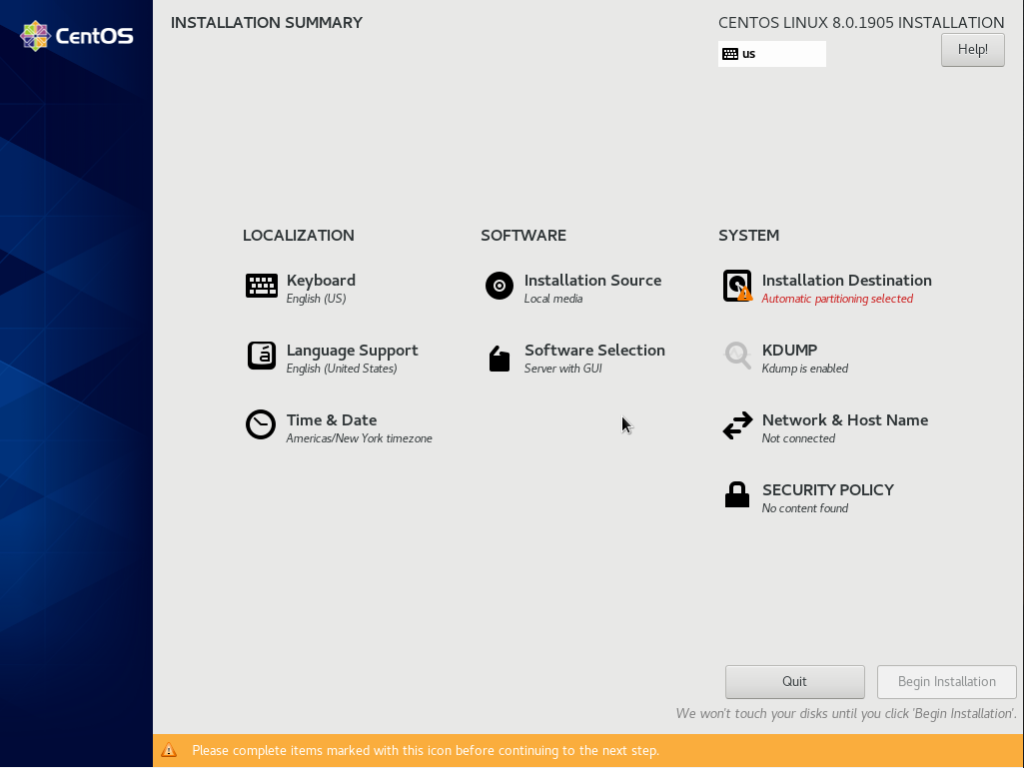
On the next screen, CentOS will start setting some of the options by default such as the keyboard layout, the time and date, the software installed and the installation source.
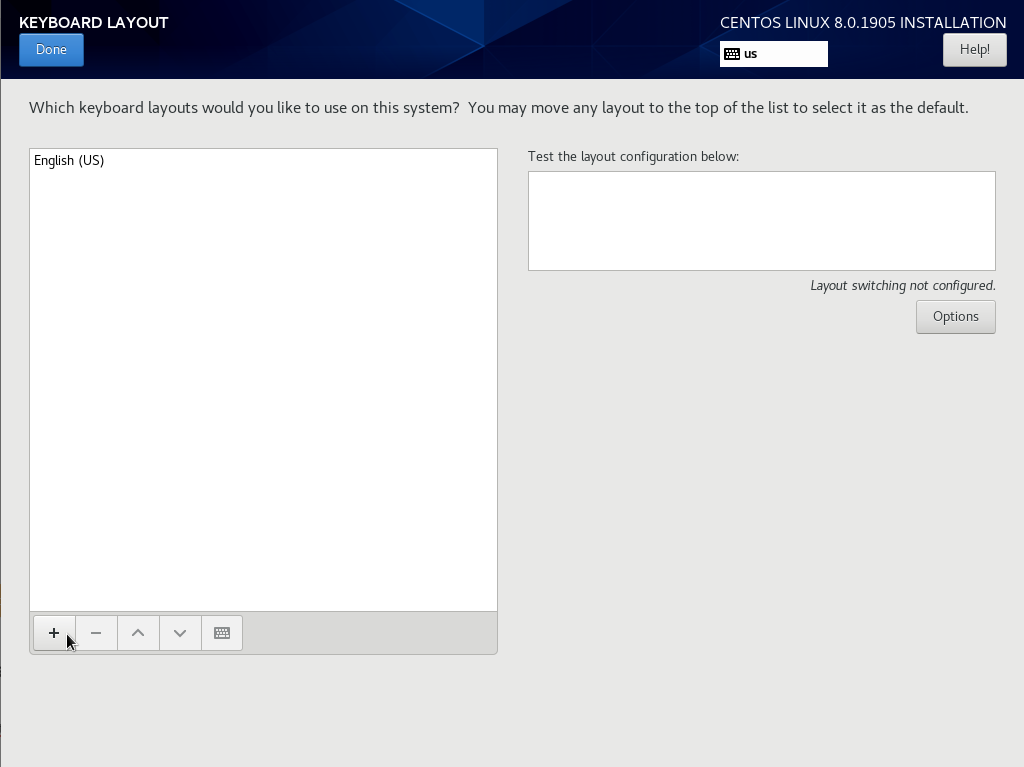
Changing the keyboard layout
In order to change the keyboard layout, simply click on the “Keyboard” option in the installer menu.
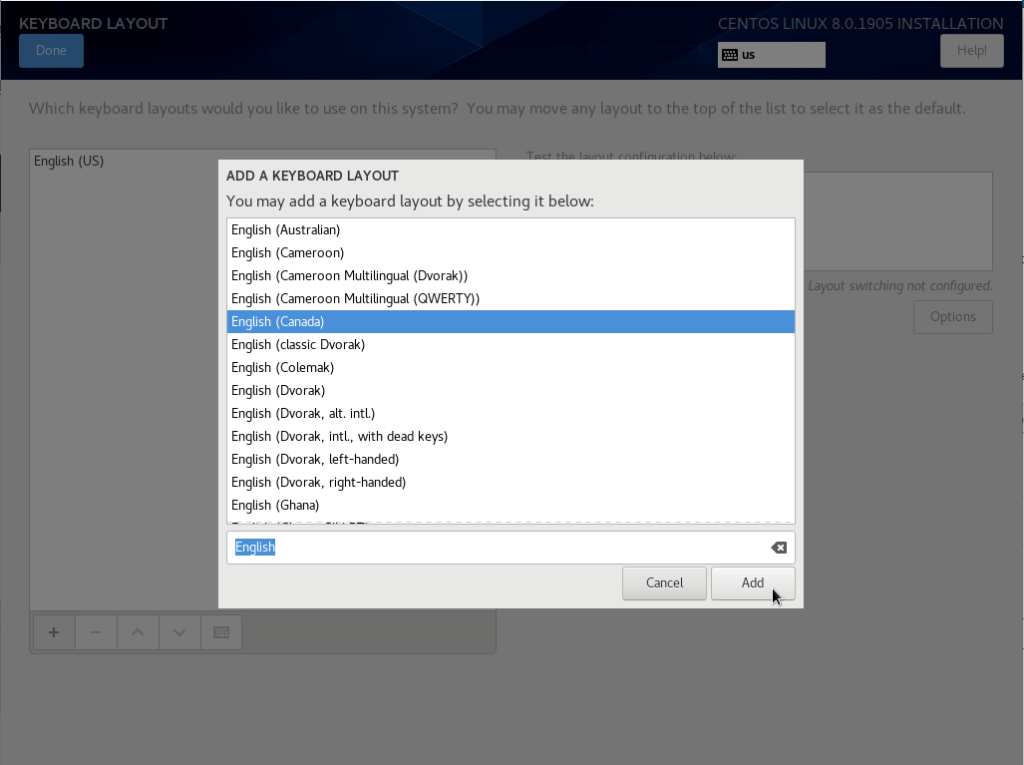
By default, the English (US) keyboard layout is selected, but you can add multiple ones by clicking on the “+” icon at the bottom of the list.
Select another option, like “English (Canada)” for example, and add the new entry to your keyboard layouts.
When you are done, simply click the “Done” button at the top of your screen.
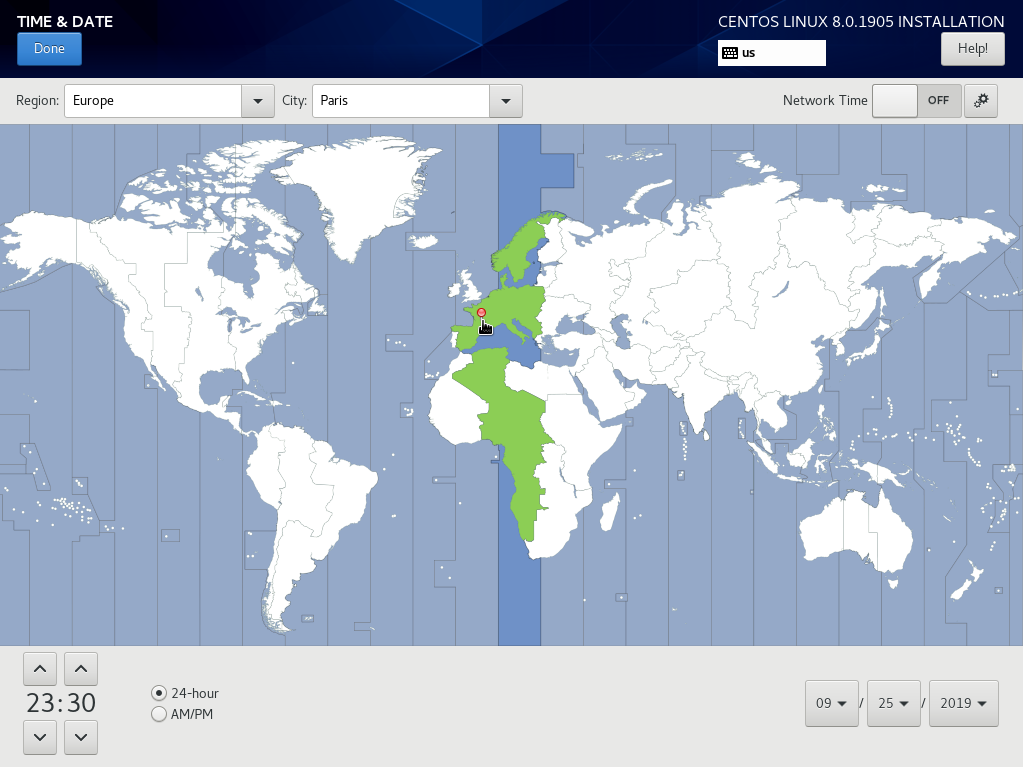
Changing the default timezone
If you are not satisfied with the default timezone available, click on the “Time & Date” option to change it.
You will be presented with an interactive map. Click on one of the zones in order to select the timezone you are interested in, and click on “Done” in order for your changes to be applied.
Customizing default software installation
By default, CentOS will be installed with the GNOME desktop as it is the default GUI for CentOS 8.
However, you can choose to personalize the software included in your default installation.
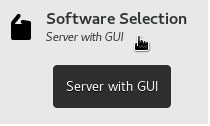
To add custom software to your CentOS 8 installation, click on the “Software Selection” option.
On the next window, you have two categories :
- On the left : you can choose a customized base environment. If you want CentOS 8 without any GUI interface, this is where you would personalize it.
- On the right : you can choose custom software you want to install on your host. For my installation, I will choose to have “Graphical Administration Tools” as they can be quite handy for administration. If you want to install a basic web server (like Apache or NGINX), or a mail server, you can check the relevant checkboxes.

When you are done, simply click on “Done” to return to the main menu.
Choosing an installation destination for CentOS 8
In order for the CentOS 8 installation to begin, you will need to select a destination for your installation files.
Click on the “Installation Destination” option in the main menu.
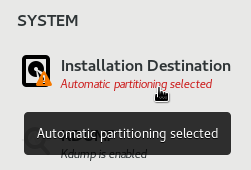
On the next window, you will be asked to choose a hard drive for your installation files.
As my host contains only one disk, I will choose it as a primary installation disk.
Simply click on the disk in order to enable it (make sure that the black check icon is enabled).
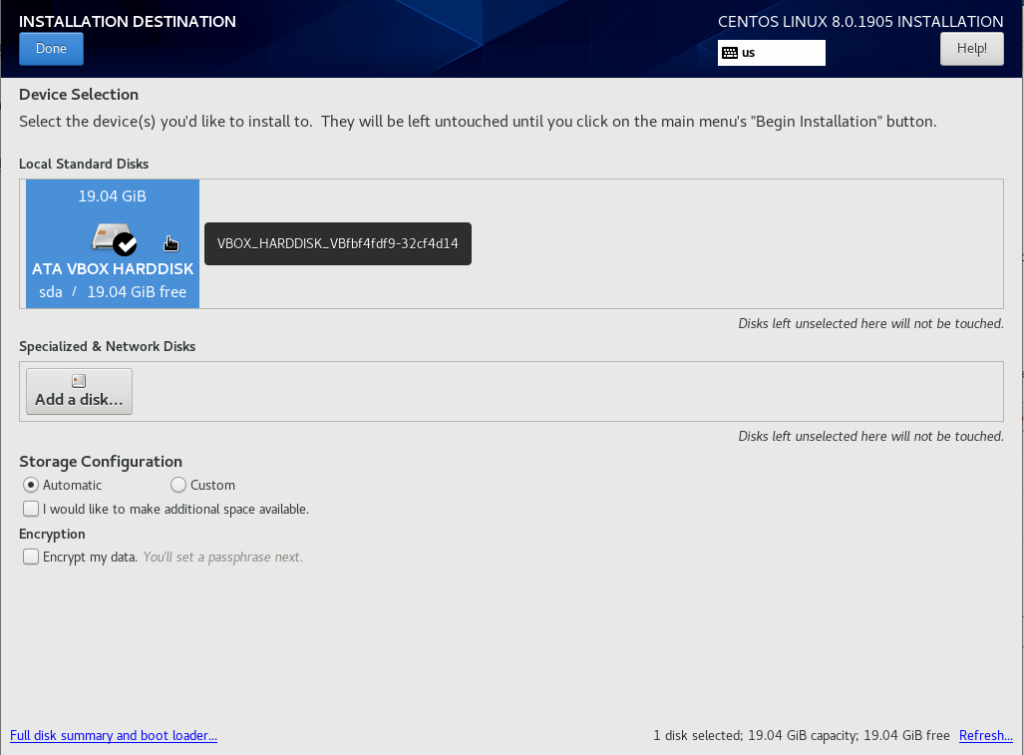
When you are done, simply click on “Done” at the top of your screen.
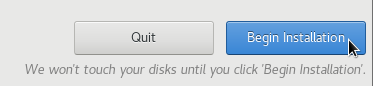
As your installation destination is selected, the “Begin Installation” option should now be available.
Simply click on it in order to begin the installation.
Creating a default user for CentOS 8
On the next screen, the CentOS 8 installation should begin.
In the meantime, you are asked to provide a password for the root user and to create a first default user for your first login.
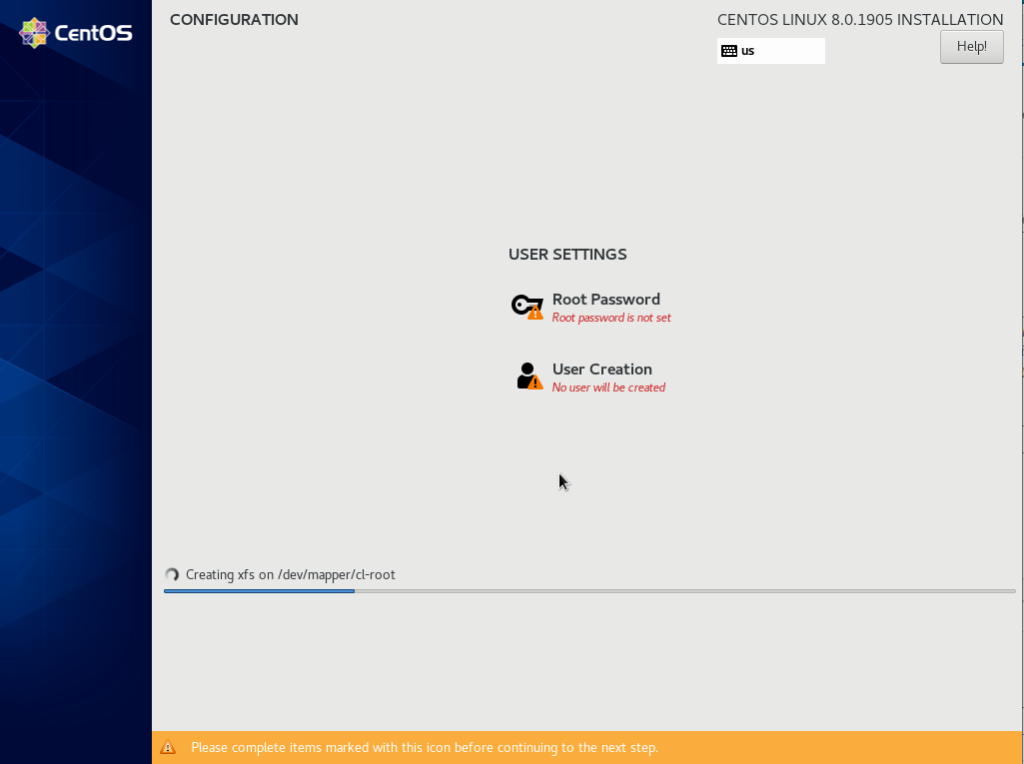
First, click on the “User Creation” option, right below the “Root Password” option.
Choose a fullname for your account as well as a username. The username is the one you are going to use in order to log into your account.
Make sure that the “Require a password to use this account” is selected and choose a strong password for the warnings not to be displayed.
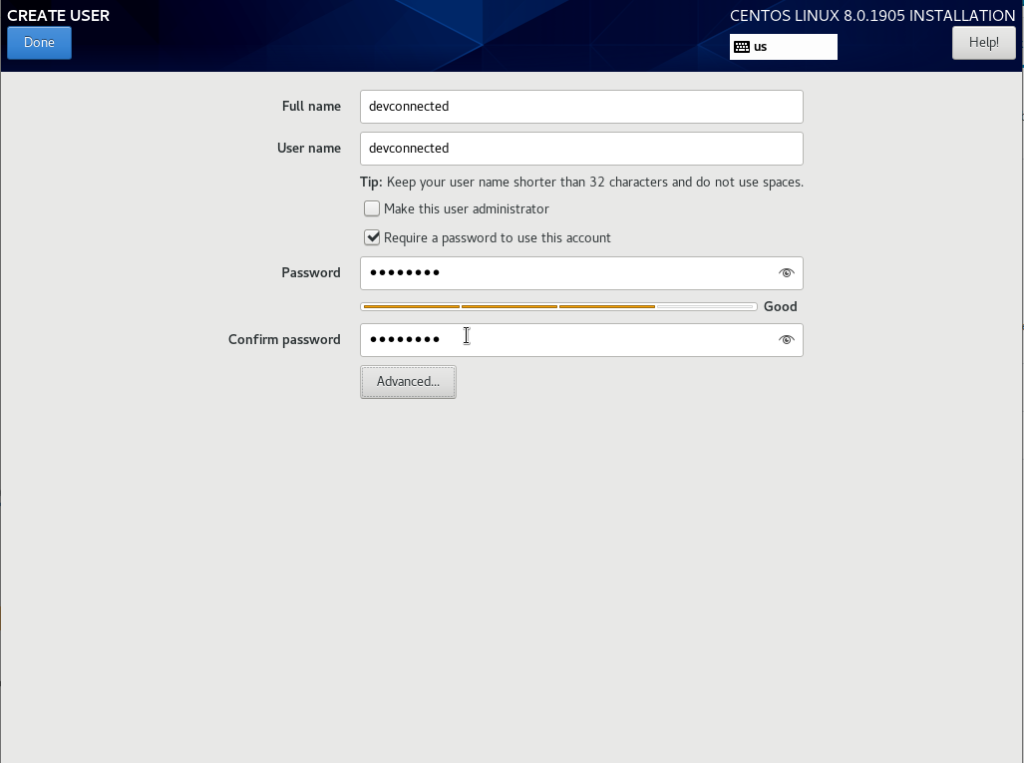
In order to create an administrator account, you are going to add this user to the “wheel” group.
Click on the “Advanced” option, and make sure to add the user to the wheel group. If you want to add it to other groups, make sure to do it in the corresponding text field.
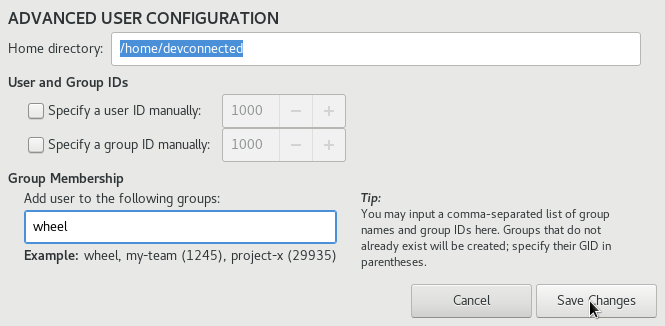
Click on “Save Changes” and “Done” when you are done to go back to the installation window.
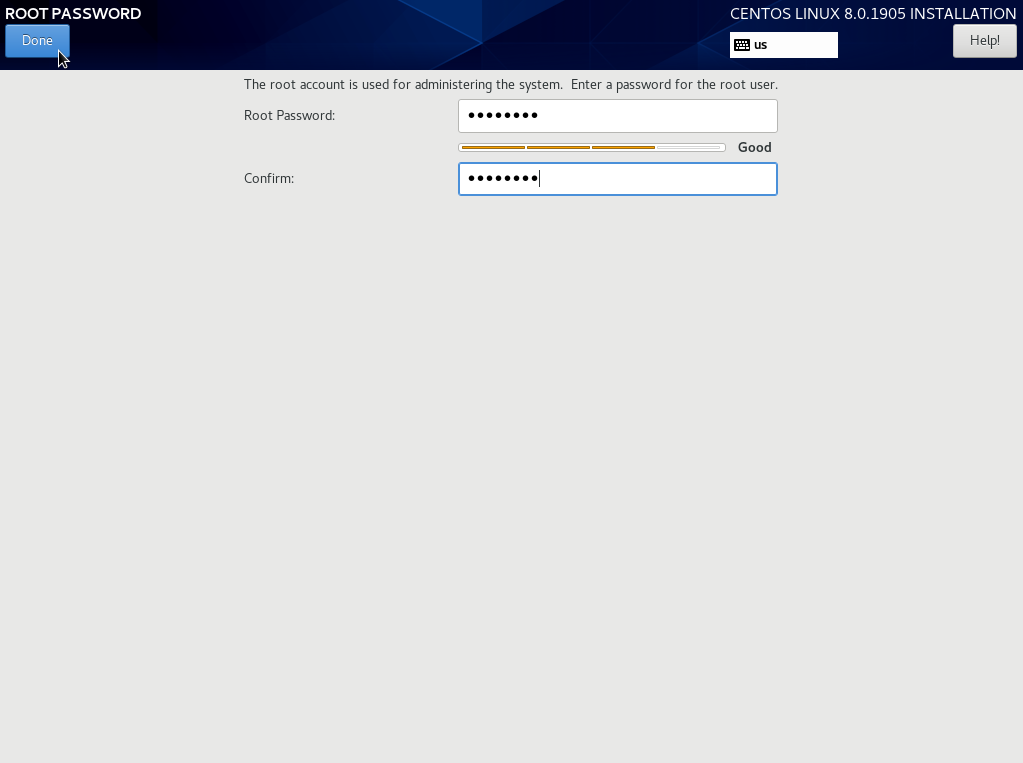
Setting a root password for CentOS 8
Finally, the last step is to set a password for the root user.
Click on the “Root Password” option in the main installation menu.
You will be presented with the following window.
Choose a strong password and click on “Done” when you are satisfied with the password.
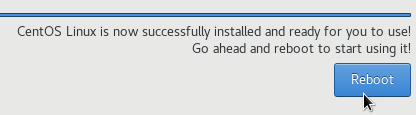
Reboot your system on installation complete
When the installation is done, you will be asked to reboot your system.
Click on the dedicated “Reboot” button at the bottom of your screen.
Boot in your new CentOS 8 image
Now that you installed CentOS 8 on your hard drive, it should be automatically detected as a boot option by your BIOS.
Make sure to select the “CentOS Linux 8 (Core)” option.
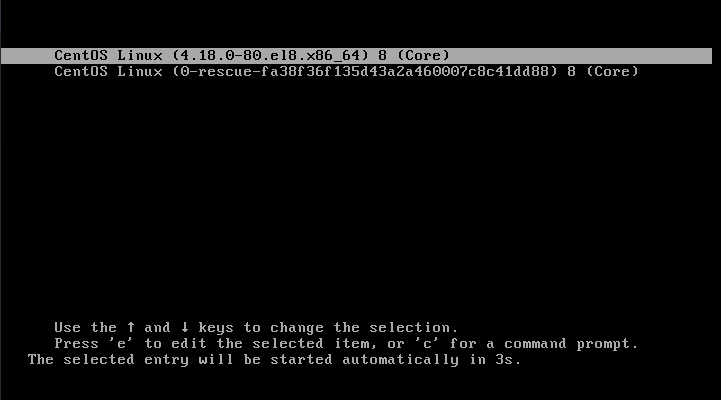
Wait a bit for the operating system to boot.
When CentOS 8 is booted, you should see the following screen.
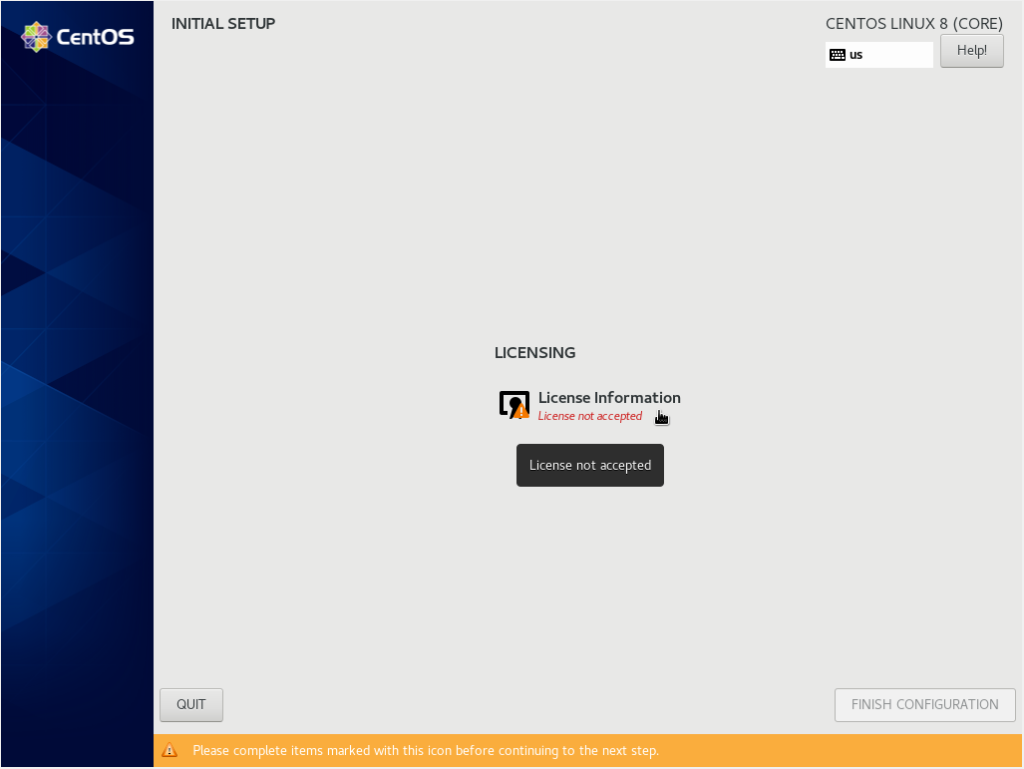
Click on “License Information” in order to review the license and to accept it.
Click on “I accept the license agreement” on the next screen, then click on “Done” in order to complete the installation.
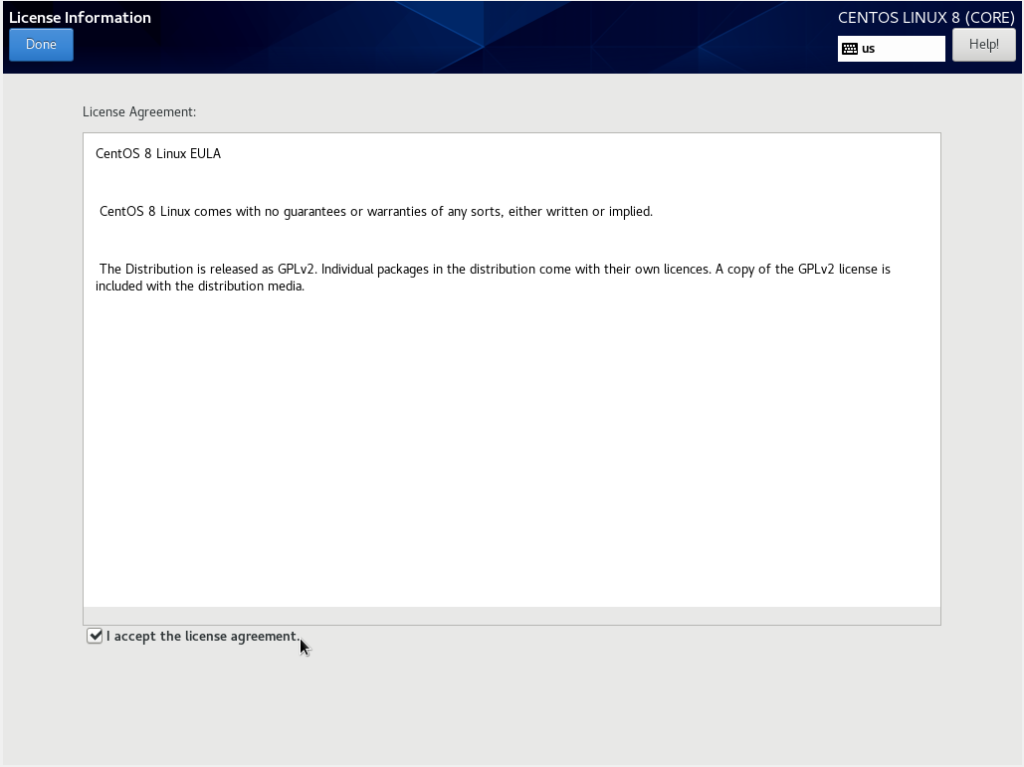
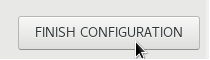
Finally, click on “Finish configuration” in order to finish the installation.
That’s it!
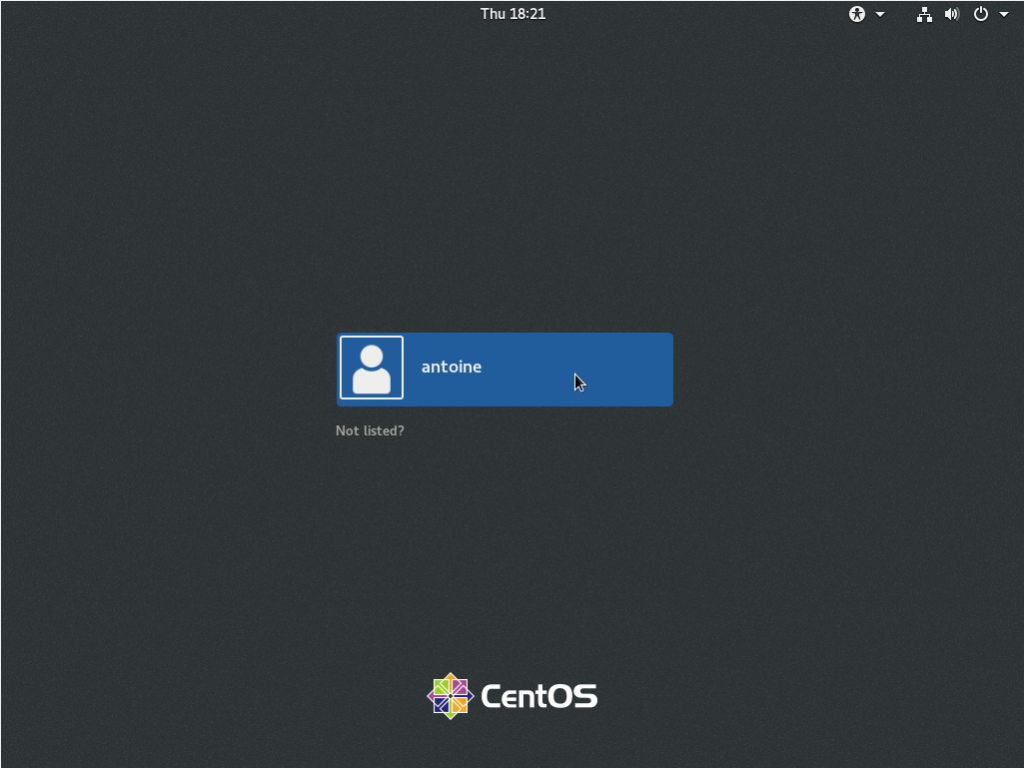
You should now see the default GNOME login screen.
Make sure to type the correct credentials in order to log in.
Once you are logged on, you will be asked to choose a language for your desktop environment.
Select “English” and click on “Next“.

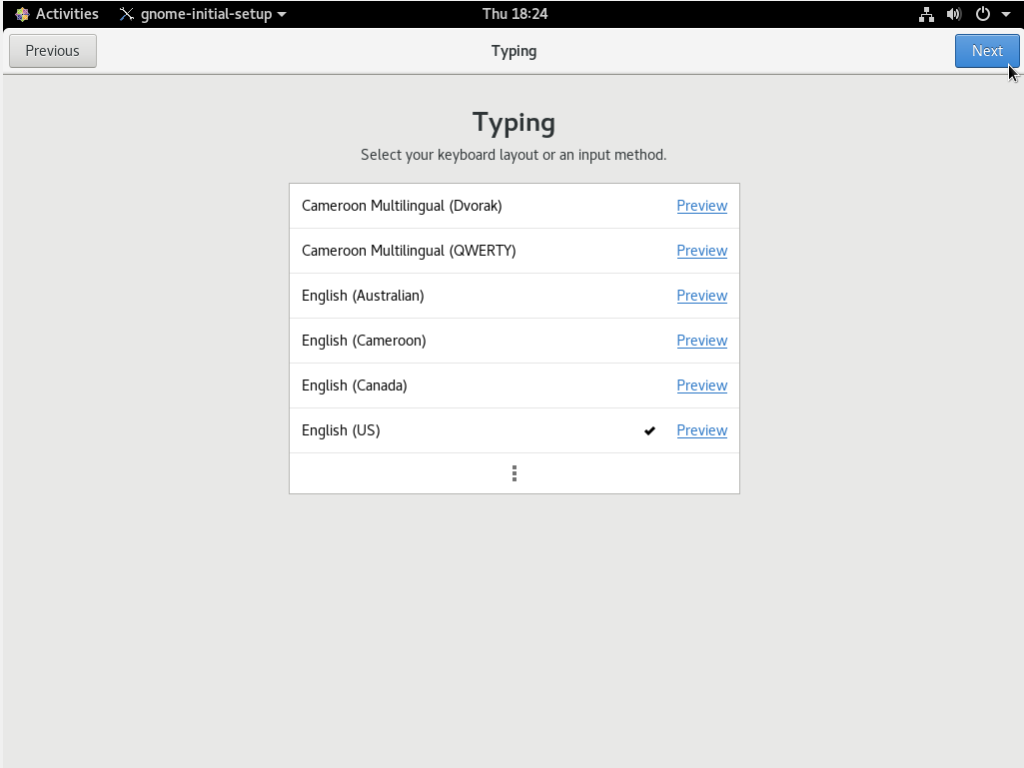
On the next screen, choose the typing keyboard layout you want to adopt in GNOME.
I will stay with the default English US keyboard layout. Click on “Next” when you are done.
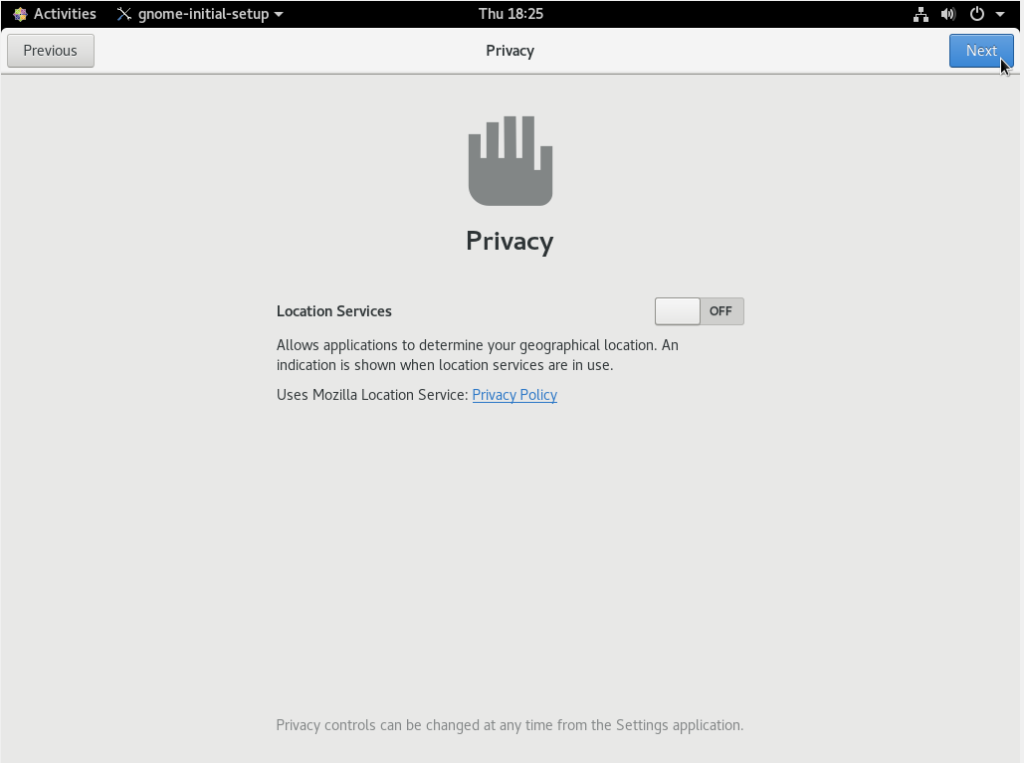
On the next screen, you will be asked to choose whether you want to be geolocated or not.
Certain applications, like web browser, use your position in various applications such as Google Maps.
I’ll disable this option as I plan on using CentOS 8 as a server environment.
Click on “Next” when you have unchecked the option.
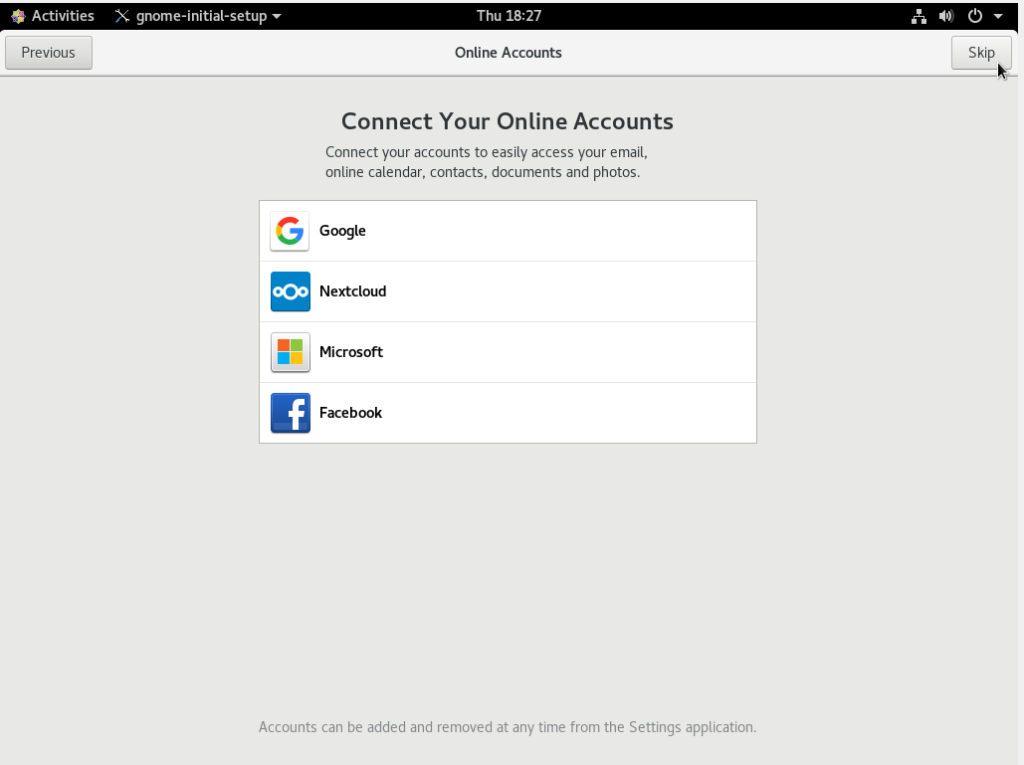
Finally, you are asked if you want to connect your social accounts. You can skip this step for now.
That’s it!
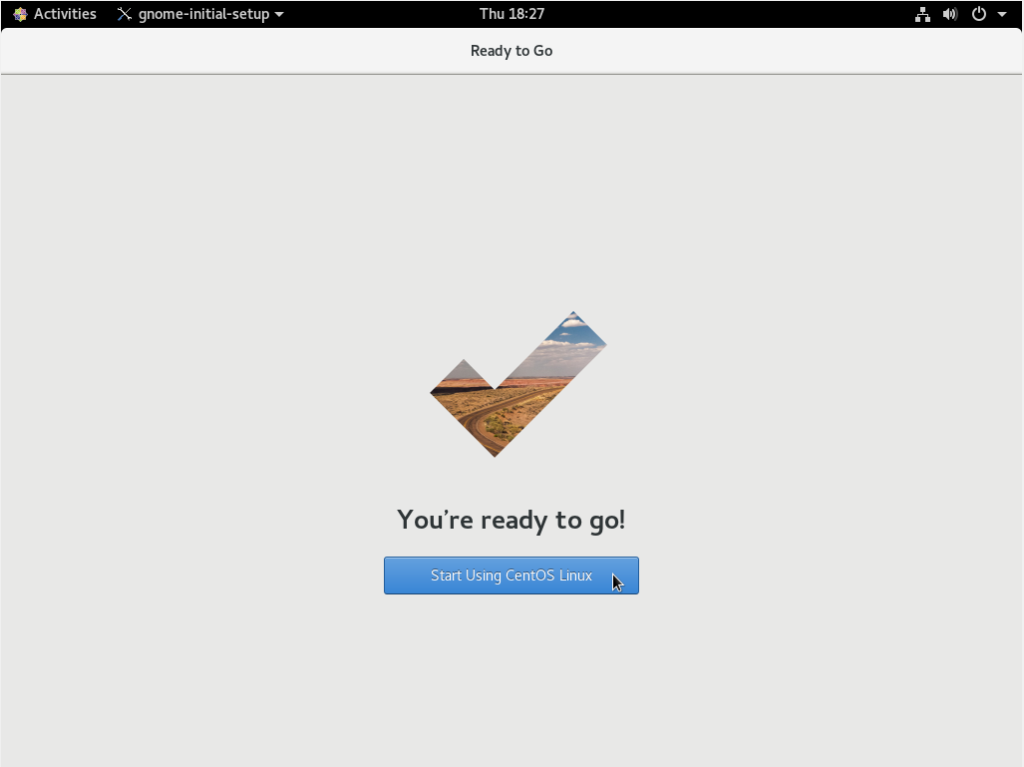
You are now ready to use CentOS 8 with GNOME.
In the next section, we are going to see how we can configure our basic GNOME desktop in order to add several features to it.
Configure your CentOS 8 server
Before playing with your CentOS 8 server, you can tweak it a bit in order for it to run even smoother.
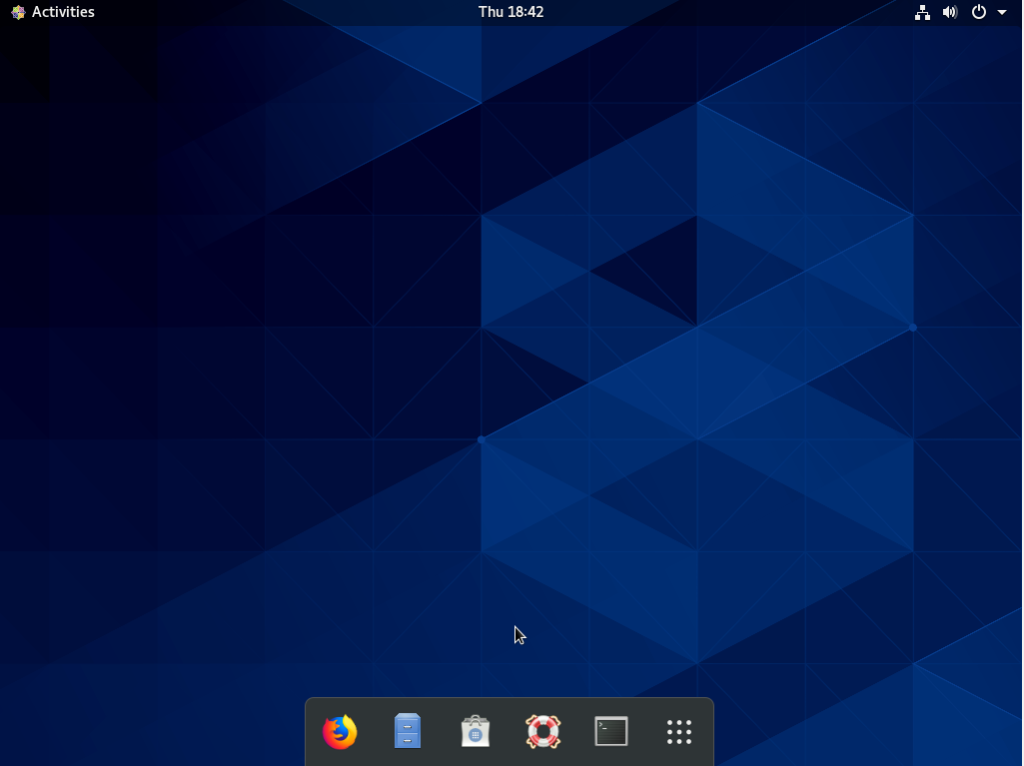
First, let’s install the Dash to Dock feature on your GNOME environment.
Installing Dash To Dock
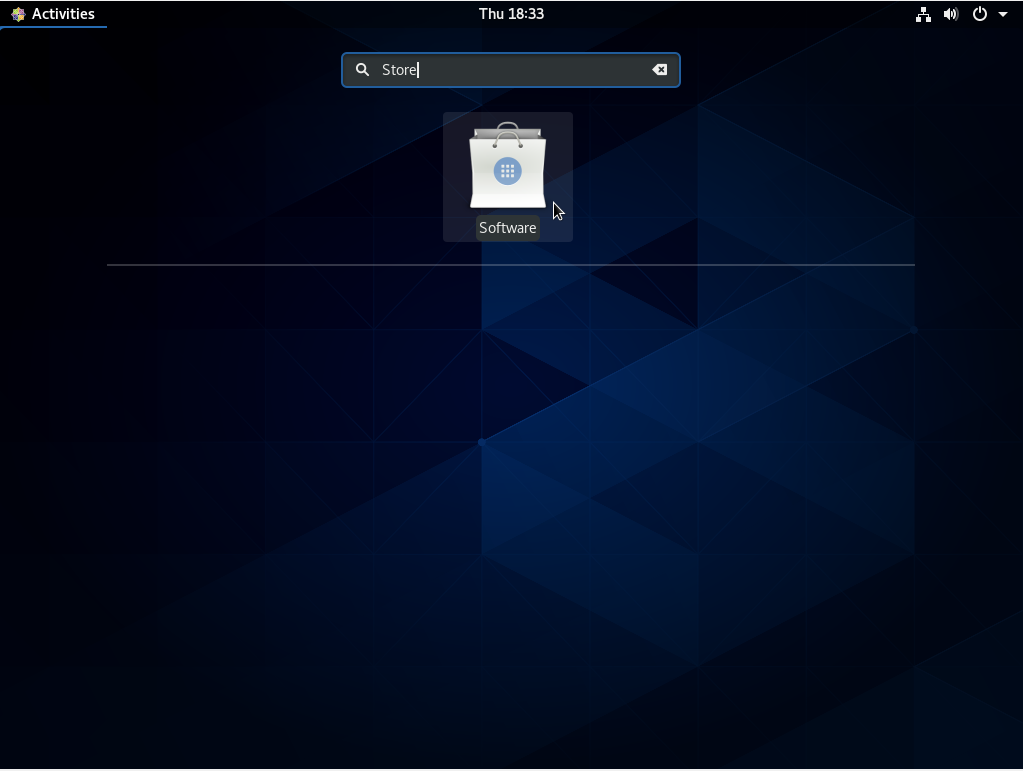
As a CentOS user, I hate going to the “Applications” menu in order to find applications I am using on a daily basis.
As a consequence, it is very handy to have a “MacOS“-like bottom bar that provides shortcuts to your favorite applications.
Head to the “Applications” menu and type “Store” in order to find the Software option.
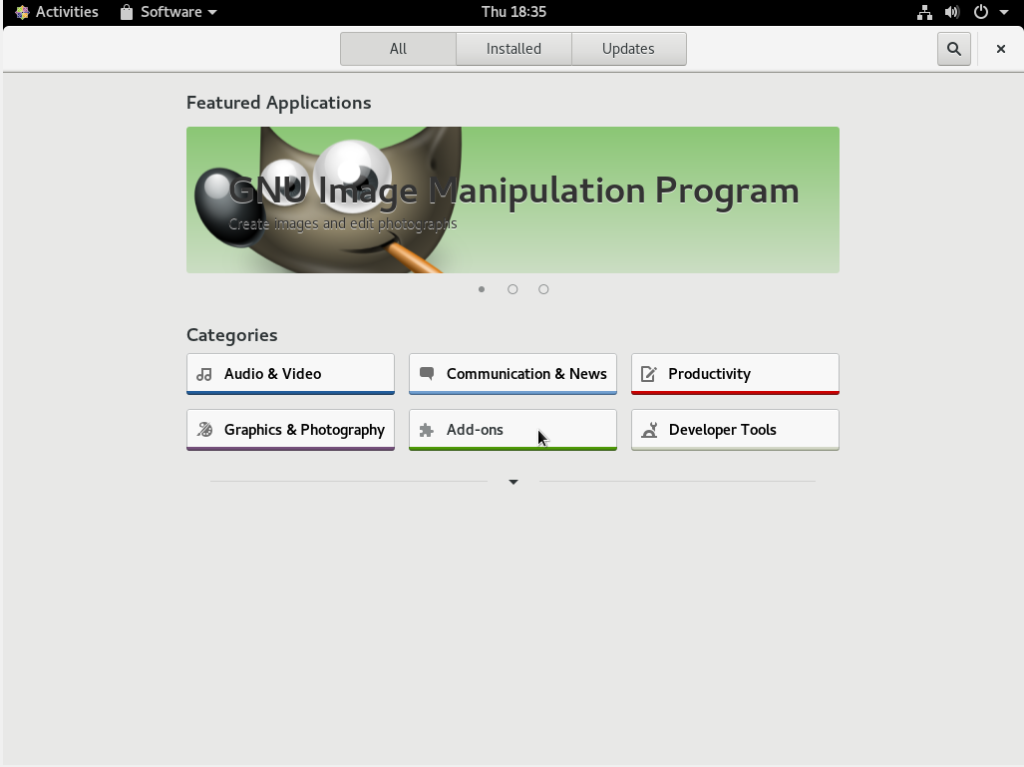
Click on “Software“, and this is what you should now see on your screen.
This is what you should see on your screen.
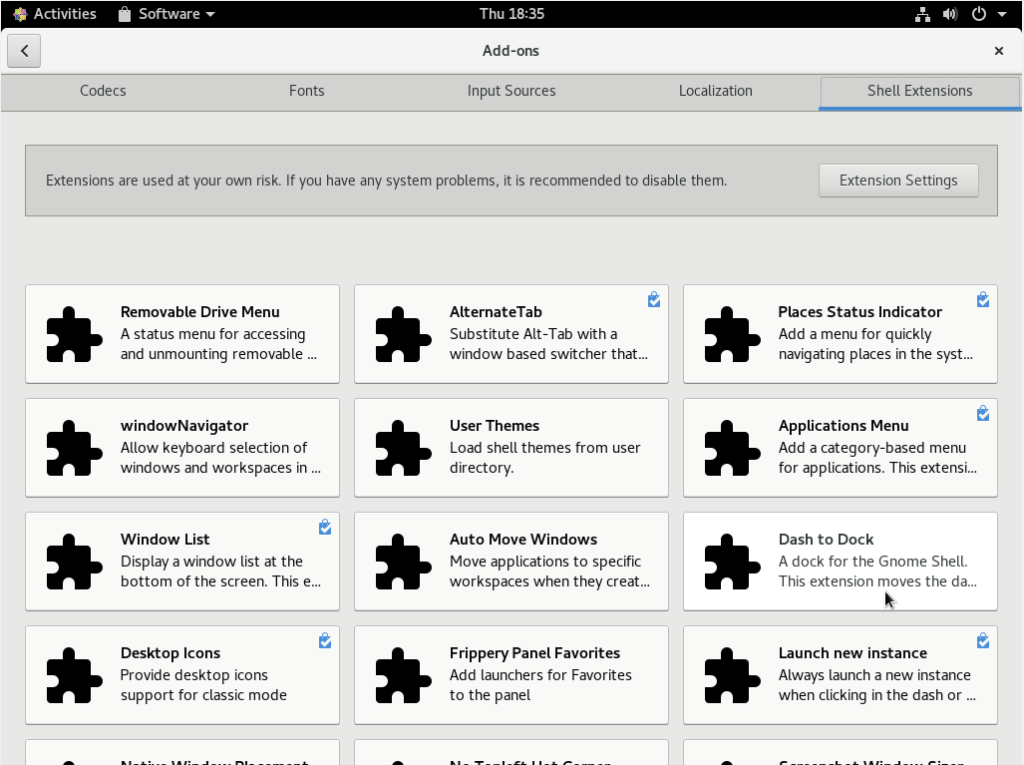
Click on “Add-ons“, then on “Shell Extensions” in order to find the list of shell extensions available on CentOS 8.
Find the “Dash To Dock” option in the list, and click on “Install” in order to install it on your CentOS 8 server.
That’s it! You should now be able to see your dash to dock panel at the bottom of your screen.
Adding your first user
In order to add your first user to your CentOS 8 server, use the following command
$ sudo adduser <user>
$ sudo passwd <user>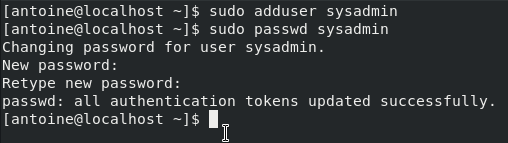
Adding a user to administrators
In order to add a new user to administrators, use the following command
$ sudo gpasswd -a <user> wheel
Going Further
Your adventure with CentOS 8 has only begun, but I would recommend that you start configuring your host if you plan on using it as a server.
Also, if you are interested in Linux administration, we have a complete section dedicated to it on our website, so make sure to check it out.