
Founded in 2010 by Solomon Hykes, Docker is by far the most popular virtualization platform available.
Widely used in DevOps for continuous development and deployment purposes, Docker stands as a reference for managing, deploying and running applications all over the world.
In today’s tutorial, we are going to see how to install Docker on Windows, from 7 to 10, and for Home and Pro editions.
0 – Prerequisites
First of all, you want to determine the current version of Windows running on your computer.
a – Get your current Windows version
Installations are different between the Windows Pro Edition and the Windows Home Edition as Windows Home does not ship the Hyper-V feature (necessary to run “Docker for Windows”)
To determine your current Windows version, open your control panel.
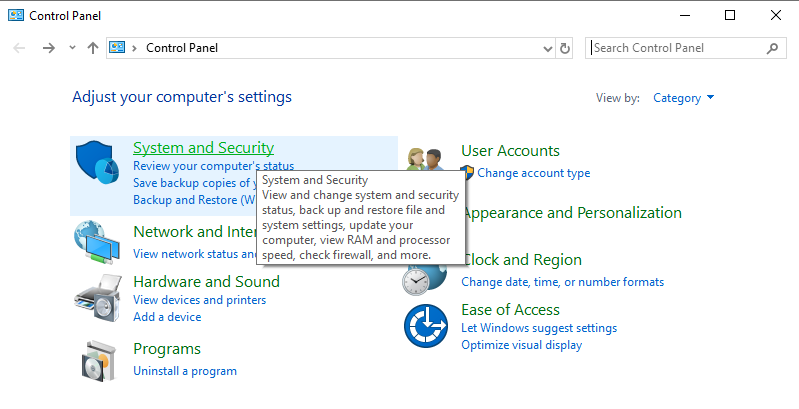
Click on System and Security, and you should see this panel.
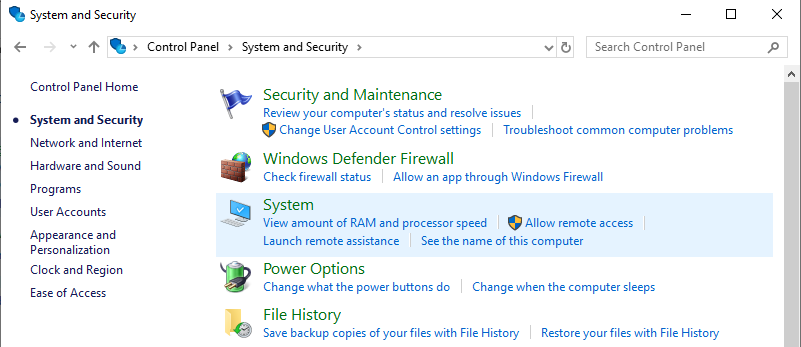
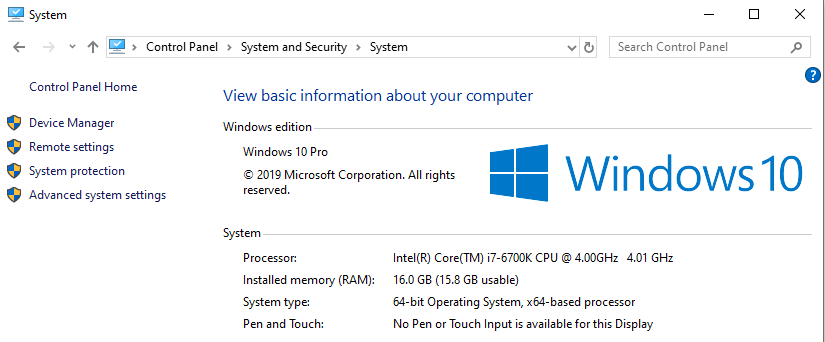
Click on the System option, and you should be able to see your system version.
As you can see, I am running Windows 10 Pro (or Enterprise), so I will be able to install Docker Desktop for Windows.
If you are running Windows 7/8 or 10 Home, you should install the Docker Toolbox.
b – Verify virtualization is enabled on Windows
In order to verify that virtualization is enabled on Windows, press Ctrl + Alt + Del and head over to the “Performance” panel.
On this panel, you should see the Virtualization option.
Make sure virtualization is enabled.
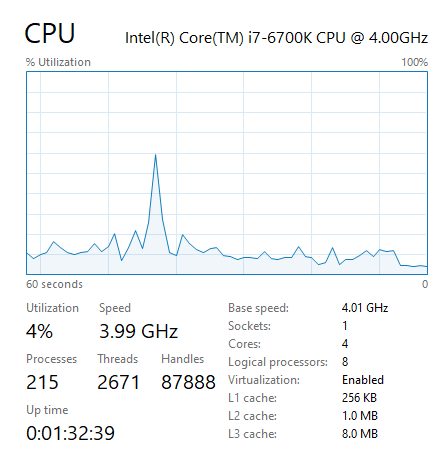
Docker heavily relies on virtualization, making it impossible to run Docker if this option is not enabled on your computer.
If you need to enable Windows virtualization, you can follow this tutorial.
1 – Install Docker on Windows 7/8/10 Home
First, we are going to see how you can install Docker for computers that do not have the Hyper-V feature available.
For those computers, you are going to need Docker Toolbox.
a – Download the Docker Toolbox executable
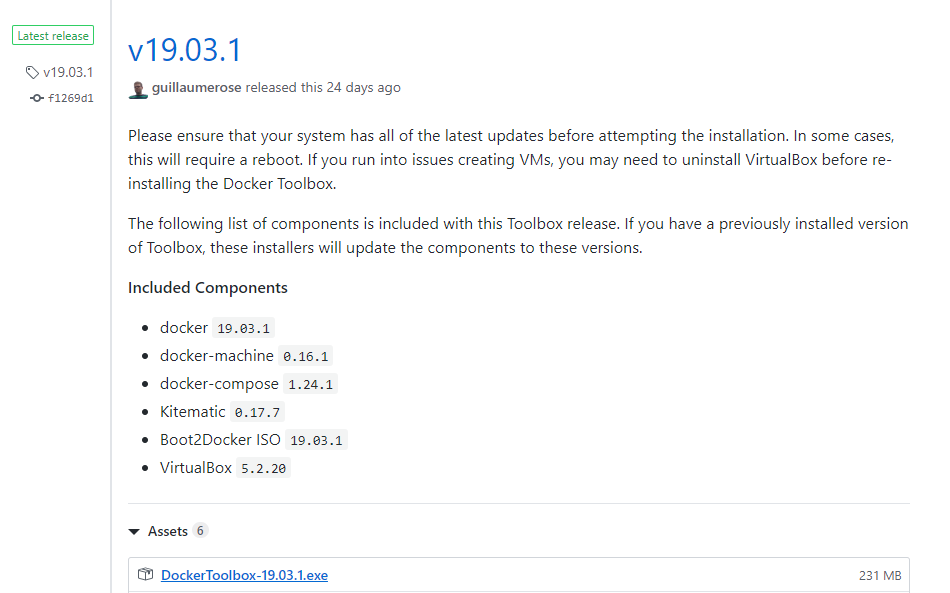
First of all, head over to the official Docker Toolbox repository on Github and download the latest executable available.
At the time of this tutorial, version v19.03.1 is available.
Click on the executable available.
As you can see, the Docker Toolbox comes with multiple executables:
- Docker: the docker binaries available to create and run containers on your computer. When installing Docker, you get a Docker CLI for you to communicate with a Docker server. This way, you can launch instructions and they will be executed on your containers;
- Docker-machine: a tool that handles provisioning on your containers (installing packages, deleting packages, running them etc.);
- Docker-compose: a tool for environments containing multiple containers with different environments. This way, you can start multiple containers together, or stop them together;
- Kitematic: a sweet graphical interface for you to control your containers on Windows and Mac;
- Boot2Docker ISO: a tiny Linux distribution for you to run Docker on Windows;
- VirtualBox: open-souce hypervisor for Windows and used to emulate operating systems on your Windows system.
If you are looking to install Docker on Linux, follow this tutorial
Save your executable somewhere appropriate, and run it to install Docker on Windows.
b – Run the Docker Toolbox installer for Windows.
First, this is what you should see when running the executable on Windows.
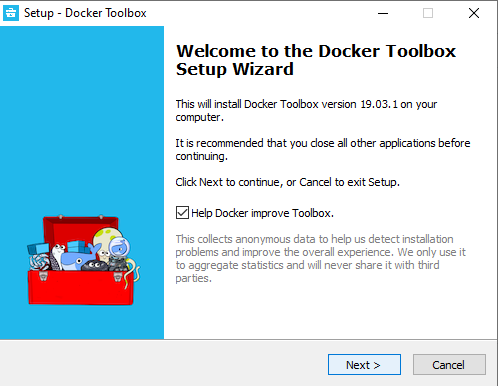
Click on Next.
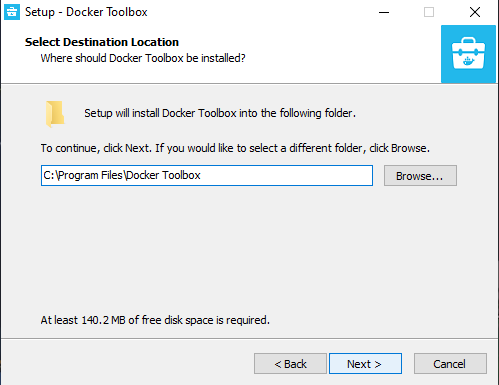
For the second screen, choose a location where to store your Docker files, and click on Next.
Select the full installation on Windows, and check the Git for Windows option if not already installed on your computer.
If VirtualBox is already installed on your computer, you can uncheck this option (it won’t get reinstalled if you let the checkbox checked)
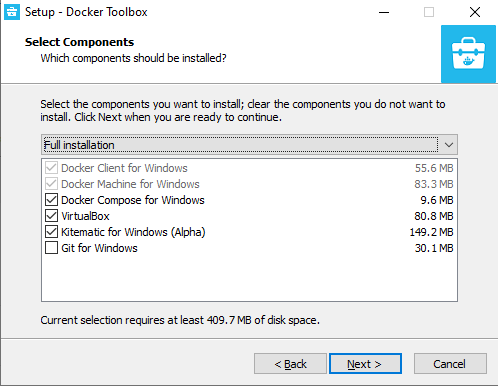
Click on Next.
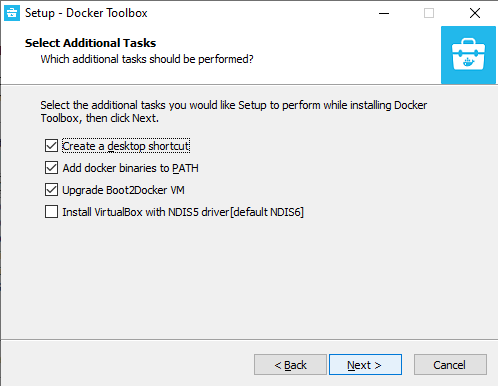
For the additional tasks, you can let the default options and click on Next.
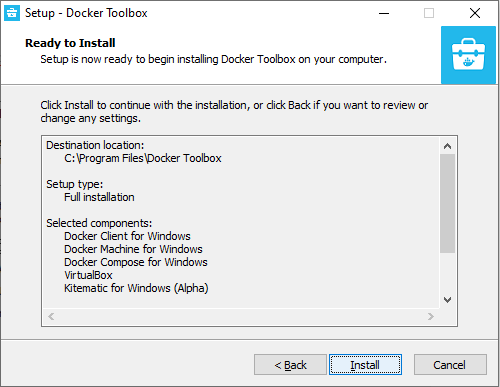
Finally, click on Install to start the Docker Toolbox installation.
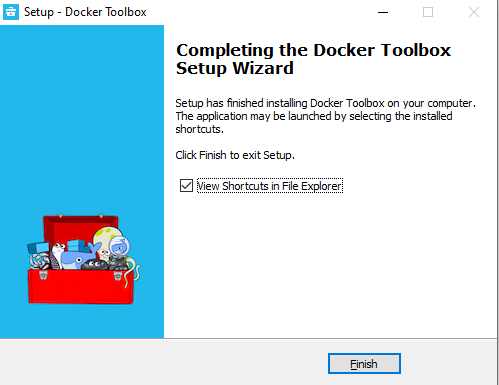
After a short while, your installation should complete. Leave the checkbox checked in order to see the shortcuts created by Docker.
c – Run the Docker Quickstart for Windows
Now that Docker is installed, you are going to run the Docker quickstart process.
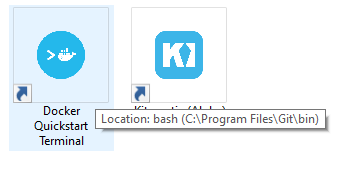
Double-click on the icon to start Docker Quickstart.
A terminal shell opens and starts running some commands on your computer to setup Docker properly. This setup step will create a VirtualBox VM using the Boot2Docker ISO downloaded.
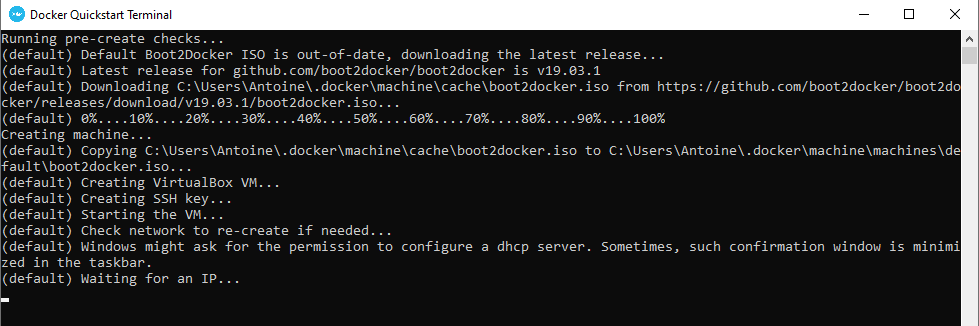
Wait a few moments for the setup to complete.
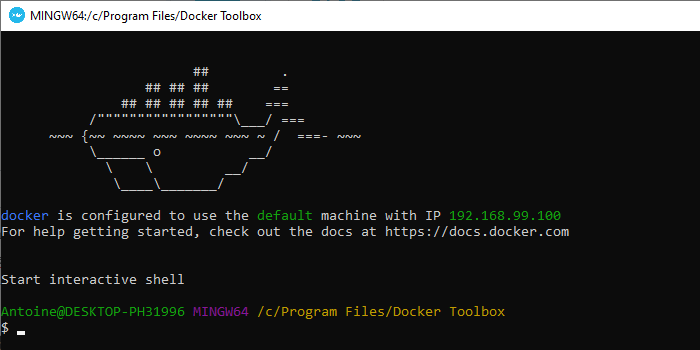
After some moments, you should see Moby (the whale of Docker!), meaning that your installation was successful.
To verify your current Docker version, run the following command
$ docker version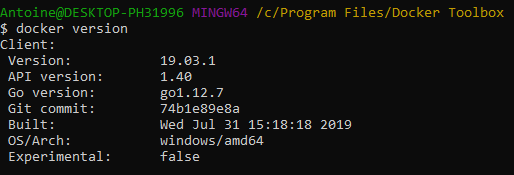
Awesome!
You have successfully installed Docker on Windows 7/8 and 10 Home.
2 – Install Docker on Windows 10 Pro and Enterprise
Windows 10 has the Hyper-V feature available, so we are going to install the Docker Desktop version that includes the Docker Community Edition for Windows.
a – Check your virtualization settings
First, we are going to check if Hyper-V is enabled on your machine. If not, you will have to enable it.
In Windows search menu, type “Type Windows Features On and Off“, and select it.

A window similar to this one should appear. Make sure that the Hyper V checkbox is enabled.

Restart your computer for the changes to be applied.
Nice!
Now let’s download Docker Desktop for Windows.
b – Create an account on Docker Hub
In order to download Docker Desktop, you are going to need a Docker Hub account.
Head over to the Docker Hub sign up page, and create a new account.
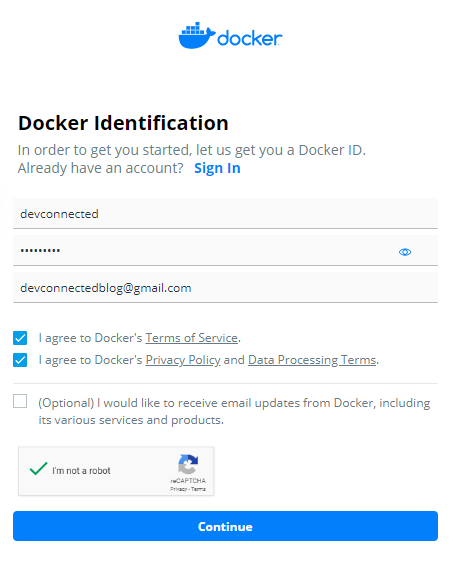
Click on “Continue“.
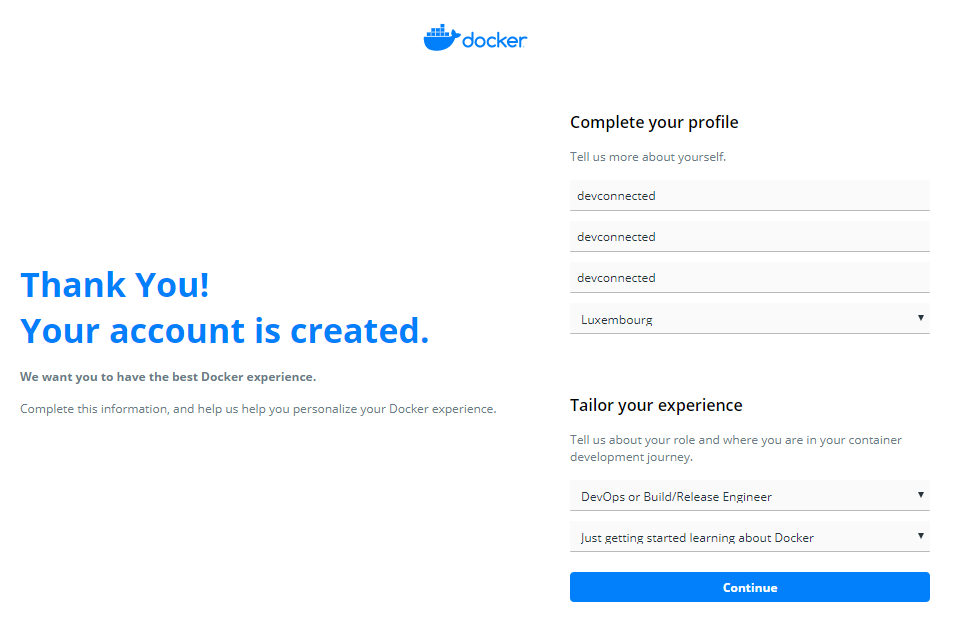
On the next screen, fill the information needed, and click on “Continue”.
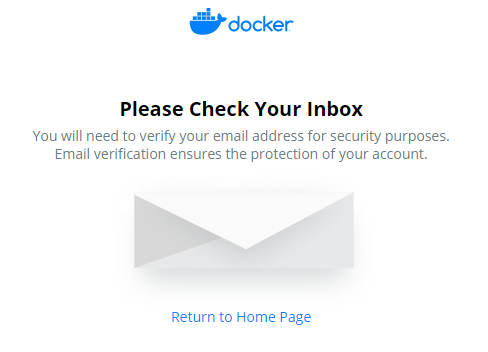
On the next screen, you are asked to verify your email. Make sure to check your inbox and to click on the verify link from Docker Hub.
As an example, this is the email that I received from Docker.
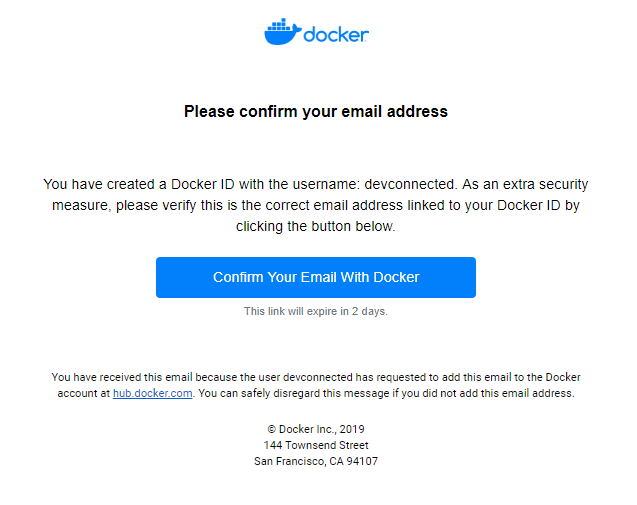
Click on “Confirm your email with Docker”, and this is what you should see.

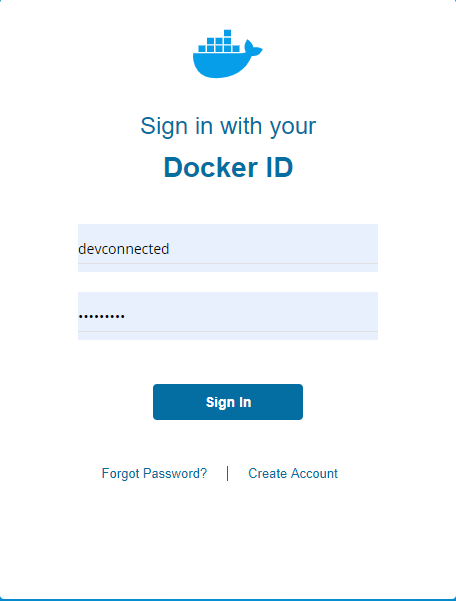
Click on “Go to Sign In” and sign in using the credentials you specified before.
Great! Now let’s download Docker Desktop for Windows.
c – Install Docker Desktop for Windows
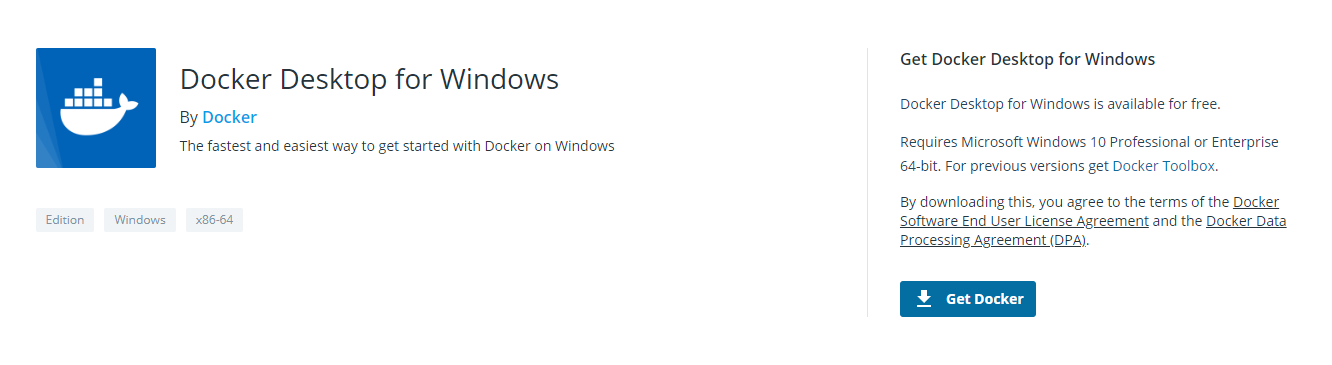
In order to download Docker Desktop, head over to this page, and click on “Get Docker“.
Your browser should start download the executable file. When the download is done, click on it to start the Docker Desktop installation for Windows.
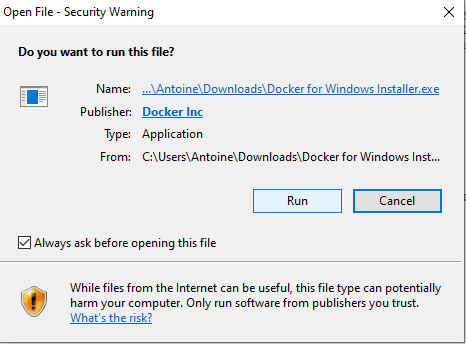
Make sure that the executable is coming from “Docker Inc” and click on “Run”.
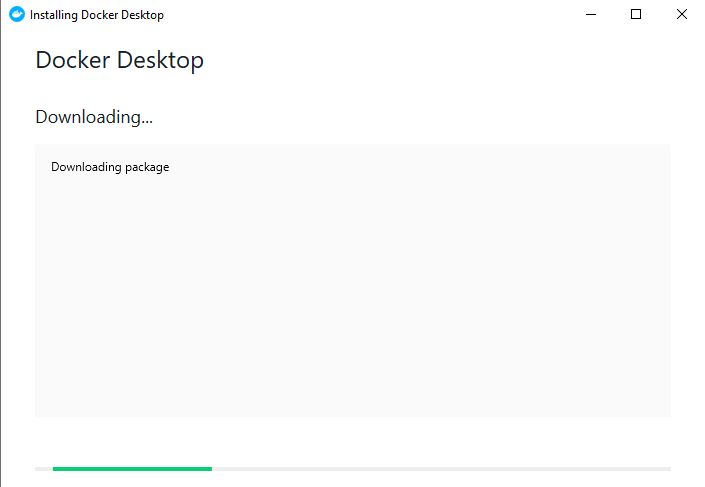
Initially, the Docker Desktop installer should start download some packages. This is completely normal, just wait a couple of seconds until it is done.
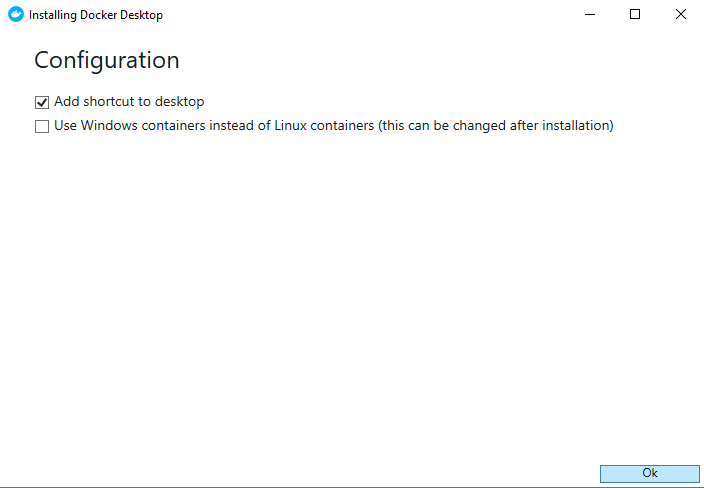
When it is done, just leave the default options on the next screen, unless you want to use Windows containers in the future.
Right after, Docker will start unpacking some files. Just wait a couple of seconds until it is done.
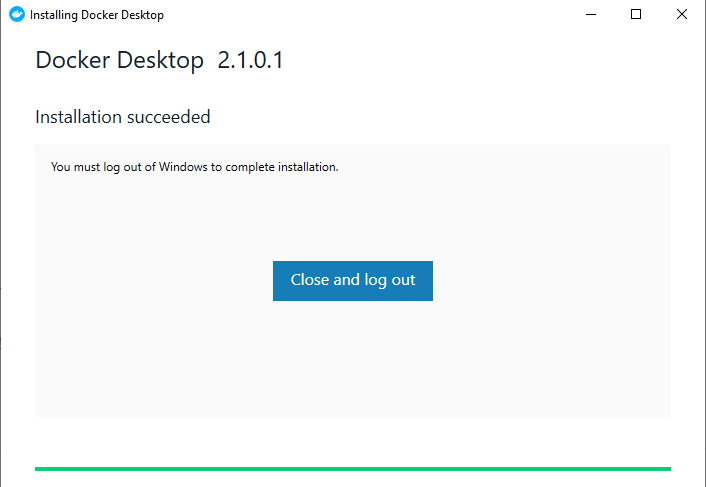
Finally, click on “Close and Log Out”. Make sure that you don’t have any unsaved work or important programs running in the background.
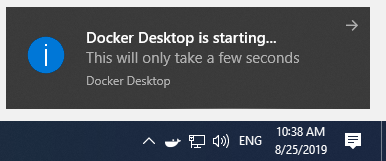
When signing back in, this is what you should see at the bottom right corner of your desktop.
Now that Docker Desktop is running, open a Powershell console and check your Docker version.
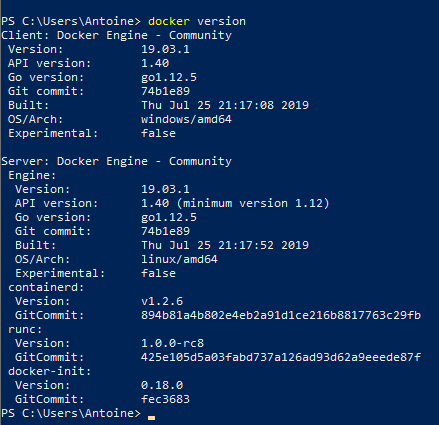
Great, as you can see I am now running the latest stable version of Docker on my Windows 10 Pro.
d – Configuring Docker Desktop
Before using Docker Desktop for Windows 10 Pro, you may need to do some quick configuration steps for it to run as smoothly as possible.
Sharing Drives
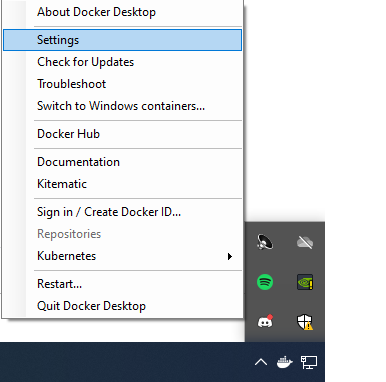
At the bottom right corner of your screen, click on the Docker icon and select “Settings”.
On the “Shared drives” section, make sure to enable some of your hard drives if you plan on writing code on them and running it inside Docker.
This can be useful in case you plan on mapping volumes for example to Docker containers. Without checking those hard drives, you might not be able to do it.
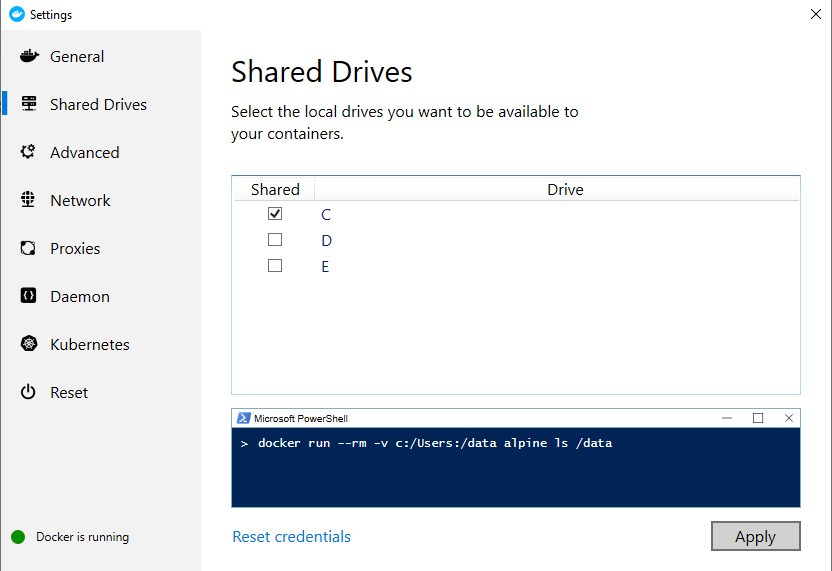
In my case, I will share the C: drive on my computer and click on “Apply”.
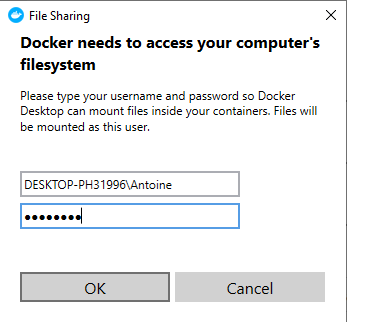
Docker will need to access your computer’s filesystem in order to share drives. Simply enter your account password and click on “Ok”.
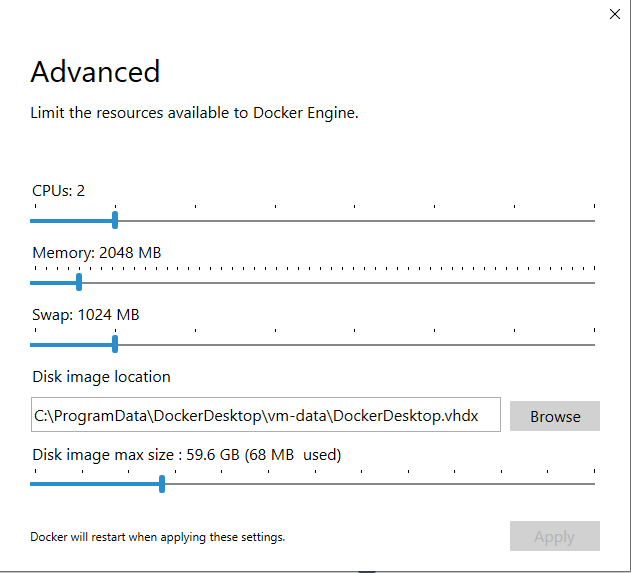
Customize Docker resources
In the “Advanced” tab, make sure that you are allocating the right amount of resources to Docker for it to run smoothly.
Those are the parameters set by default but you may need to have higher specifications if Docker is running badly.
Great! You learned how to install Docker Desktop on Windows 10 Pro.
3 – Conclusion
In this tutorial, you learned how to install Docker Toolbox and Docker Desktop for the latest versions of Windows.
Now that you have a complete Docker setup, it is time for you to run your first container.
Have a look at this video in order to create your first Docker container.
Until then, have fun, as always.
7 comments
great article!!
Many thanks.
To begin with, I had Windows 8.1 OS running on my desktop, so I followed the instructions to get the Docker Toolbox executable first. I was able to follow successfully every single step after that, until I got problem at the end of the “Install Docker Desktop for Windows” step: After running the Docker Desktop Installer, I got the message: “Docker Destop 2.2.0.0 –Installation failed: one prerequisite is not fulfilled –Docker Desktop requires Windows 10 Pro or Enterprise version15063 to run.” Please advice what I need to do to fix this problem. Do I have to upgrade my OS to Windows 10 Pro in order to install the Docker software in my PC? Thanks.
Hello,
In order to use Docker Desktop for Windows, you will have to upgrade your computer to Windows 10.
If you want to stay on Windows 8, you can take a look at Docker Toolbox.
https://www.docker.com/products/docker-toolbox
Best of luck,
SCHKN
Great article, i was download Docker Desktop and install, it is failed, really was worried. and searching Docker Desktop for Windows 7 then i got this URL. really helped lot with detailed explanation.
Hi Schkn,
I am using Windows 7, hence installed Docker Tool Box, docker is running. but i am creating sample application and trying to create Docker image using visual studio shows that Docker is not running. Can’t we create docker image from windows 7?
Muito obrigado me ajudou muito!